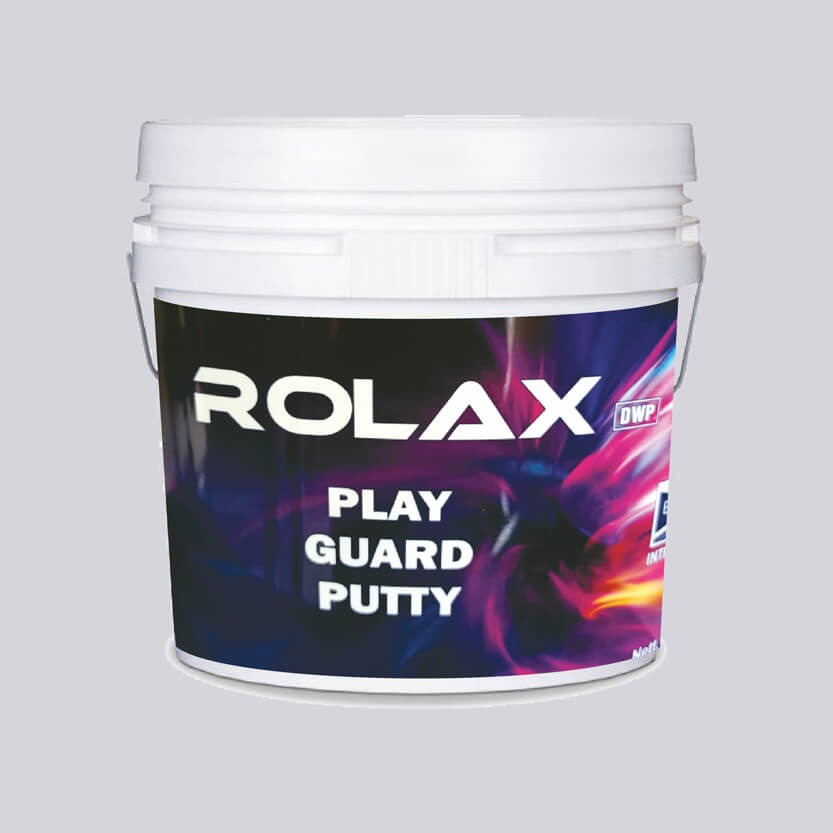
Rolax Acrylic putty stands out as a water-based putty, representing one of the finest products in its category on today. Specifically designed for smoothing out cracks and dents on walls or interior surfaces, this putty establishes a robust and enduring base, elevating the overall performance of finish paints in terms of aesthetics.
The putty incorporates speciality that guarantee a secure adhesion to the wall surface, ultimately extending the lifespan of the paint. Crafted with precision using advanced equipment and technology, it ensures a consistent smoothness throughout its application.
Noteworthy for its exceptional whiteness and smooth texture, Rolex Acrylic putty enhances the appearance of emulsion paints layered over it, lending them a richer look. Additionally, it promotes improved finish compared to traditional putty, thereby enhancing paint performance. With a quick-drying formulation, it facilitates swift project completion, while its superior alkgal resistance makes it particularly well-suited for application all walls.
Coverage
(Depending upon Surface and shades)
*The actual coverage achieved may differ from the quoted coverage due to variables like the application method, application conditions, and the roughness and porosity of the surface.
Gives a smooth and durable finish with Rolex Acrylic putty. Here’s a step-by-step guide on how to prepare the wall surface for applying acrylic putty:
Rolex Acrylic putty for walls has several features and benefits that make it a popular choice for various applications. Here are some key features and benefits: Quick Drying: Rolex Acrylic putty typically dries faster compared to other types of putty or filler, making it a time-efficient option for wall repairs and renovations. Easy to Apply: The smooth consistency of Rolex Acrylic putty makes it easy to apply with a putty knife or trowel. Its workability allows for precise application on different surfaces.
Adhesion: Rolex Acrylic putty exhibits good adhesion to a variety of surfaces, including plaster, drywall, wood, concrete, and more. This ensures a strong bond between the putty and the substrate. Versatility: Rolex Acrylic putty is versatile and can be used for various purposes, such as filling cracks, holes, and imperfections in walls, ceilings, and other surfaces. Paintable: Rolex Acrylic putty is compatible with Dreamwalls Paints, allowing for easy painting once the putty has dried. This ensures a seamless integration of the repaired area with the rest of the surface. Minimal Shrinkage: Rolex Acrylic putty tends to have minimal shrinkage during the drying process, reducing the likelihood of cracks appearing after application. Water-Based: Rolex Acrylic putty is water-based, making it easy to clean up with water. This feature is environmentally friendly and simplifies the cleaning process for tools.
Benefits: Smooth Finish: Rolex Acrylic putty can be applied smoothly, allowing for a professional-looking finish. This is particularly beneficial for achieving a flawless surface in preparation for painting. Durability: Once dried, Rolex Acrylic putty forms a durable and hard surface. It helps reinforce and strengthen the repaired areas on walls, providing long-lasting results. Weather Resistance: Rolex Acrylic putty is often resistant to weathering and can withstand exposure to various environmental conditions, making it suitable for both interior and exterior applications. Cost-Effective: Rolex Acrylic putty is affordable, providing a cost-effective solution for minor repairs and surface preparation compared to more expensive alternatives. Crack Resistance: The flexibility of Rolex Acrylic putty helps it resist cracking, ensuring that the repaired areas remain intact even if there are slight movements or expansions in the underlying substrate.
Easy Sanding: After drying, Rolex Acrylic putty can be easily sanded to achieve a smooth and even surface. This facilitates additional refinements before painting.
Keep the container tightly closed and keep out of reach of children and away from combustible material, food, drink, and animal feeding stuffs. Wear suitable gloves. Avoid contact with skin or eyes, After contact with skin wash immediately with soap and water or a proprietary skin cleanser. Do not use solvent thinners or white spirits. May cause sensitization by skin contact. Use only in well-ventilated areas and store in cool and dry places. Lead content does not exceed more than 90 ppm.
To maintain the paint’s optimal performance, it is essential to follow these guidelines:
Regularly clean and wash off any algae or fungal growth that may appear every six months.Avoid applying the paint when the ambient temperature is below 10°C or if it is expected to drop to this level within few hours of application. Refrain from excessive thinning or overextending the brush during application. Use machine colorant for tinting, ensuring proper stirring and straining before use.
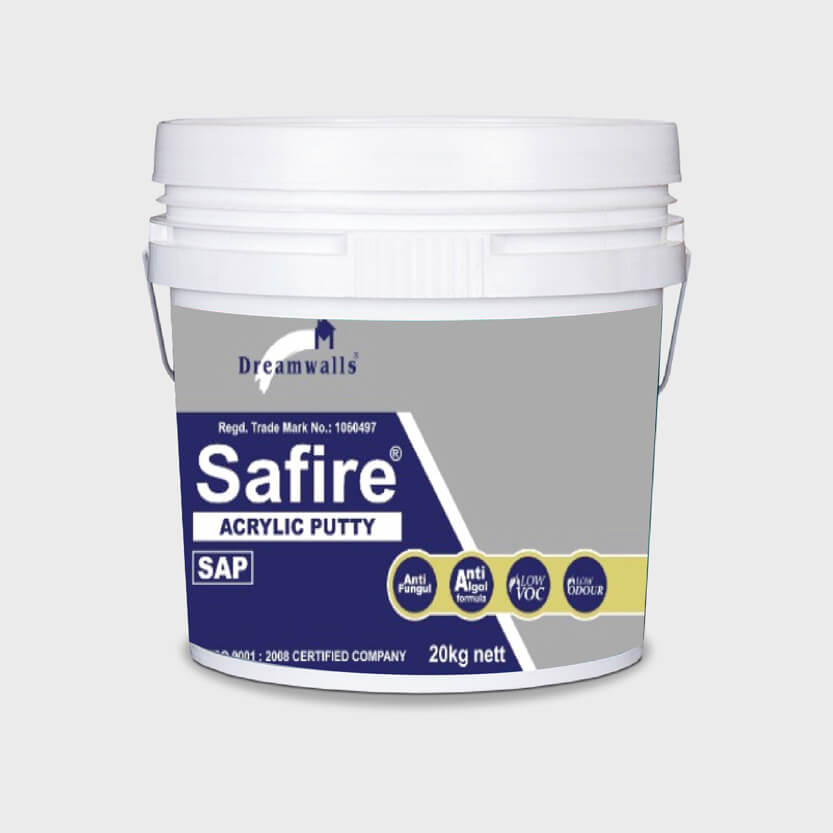
Safire Acrylic putty stands out as a water-based putty, representing one of the finest products in its category on today. Specifically designed for smoothing out cracks and dents on walls or interior surfaces, this putty establishes a robust and enduring base, elevating the overall performance of finish paints in terms of aesthetics.
The putty incorporates speciality that guarantee a secure adhesion to the wall surface,
ultimately extending the lifespan of the paint. Crafted with precision using advanced equipment and technology, it ensures a consistent smoothness throughout its application.
Safire Acrylic putty Additionally, promotes improved finish compared to traditional putty, thereby enhancing paint performance. With a quick-drying formulation, it facilitates swift project completion.
Coverage
Coat: 40 To 55 sq.ft/Ltr/Coat Diluted, 2 Coat: 25 To 35 sq.ft/Ltr/Coat Undiluted
(Depending upon Surface and shades)
*The actual coverage achieved may differ from the quoted coverage due to variables like the application method, application conditions, and the roughness and porosity of the surface.
Gives a smooth and durable finish with Safire Acrylic putty Here’s a step-by-step guide on how to prepare the wall surface for applying acrylic putty:
Safire Acrylic putty for walls has several features and benefits that make it a popular choice for various applications. Here are some key features and benefits: Quick Drying: Safire Acrylic putty typically dries faster compared to other types of putty or filler, making it a time-efficient option for wall repairs and renovations. Easy to Apply: The smooth consistency of Safire Acrylic putty makes it easy to apply with a putty knife or trowel. Its workability allows for precise application on different surfaces.
Adhesion: Safire Acrylic putty exhibits good adhesion to a variety of surfaces, including plaster, drywall, wood, concrete, and more. This ensures a strong bond between the putty and the substrate. Versatility: Safire Acrylic putty is versatile and can be used for various purposes, such as filling cracks, holes, and imperfections in walls, ceilings, and other surfaces. Paintable: Safire Acrylic putty is compatible with Dreamwalls Paints, allowing for easy painting once the putty has dried. This ensures a seamless integration of the repaired area with the rest of the surface. Minimal Shrinkage: Safire Acrylic putty tends to have minimal shrinkage during the drying process, reducing the likelihood of cracks appearing after application. Water-Based: Safire Acrylic putty is water-based, making it easy to clean up with water. This feature is environmentally friendly and simplifies the cleaning process for tools.
Smooth Finish: Safire Acrylic putty can be applied smoothly, allowing for a professional-looking finish. This is particularly beneficial for achieving a flawless surface in preparation for painting. Durability: Once dried, Safire Acrylic putty forms a durable and hard surface. It helps reinforce and strengthen the repaired areas on walls, providing long-lasting results. Weather Resistance: Safire Acrylic putty is often resistant to weathering and can withstand exposure to various environmental conditions, making it suitable for both interior and exterior applications. Cost-Effective: Safire Acrylic putty is affordable, providing a cost-effective solution for minor repairs and surface preparation compared to more expensive alternatives. Crack Resistance: The flexibility of Safire Acrylic putty helps it resist cracking, ensuring that the repaired areas remain intact even if there are slight movements or expansions in the underlying substrate.
Easy Sanding: After drying, Safire Acrylic putty can be easily sanded to achieve a smooth and even surface. This facilitates additional refinements before painting.
Keep the container tightly closed and keep out of reach of children and away from combustible material, food, drink, and animal feeding stuffs. Wear suitable gloves. Avoid contact with skin or eyes, After contact with skin wash immediately with soap and water or a proprietary skin cleanser. Do not use solvent thinners or white spirits. May cause sensitization by skin contact. Use only in well-ventilated areas and store in cool and dry places. Lead content does not exceed more than 90 ppm.
To maintain the paint’s optimal performance, it is essential to follow these guidelines:
Regularly clean and wash off any algae or fungal growth that may appear every six months.Avoid applying the paint when the ambient temperature is below 10°C or if it is expected to drop to this level within few hours of application. Refrain from excessive thinning or overextending the brush during application. Use machine colorant for tinting, ensuring proper stirring and straining before use.
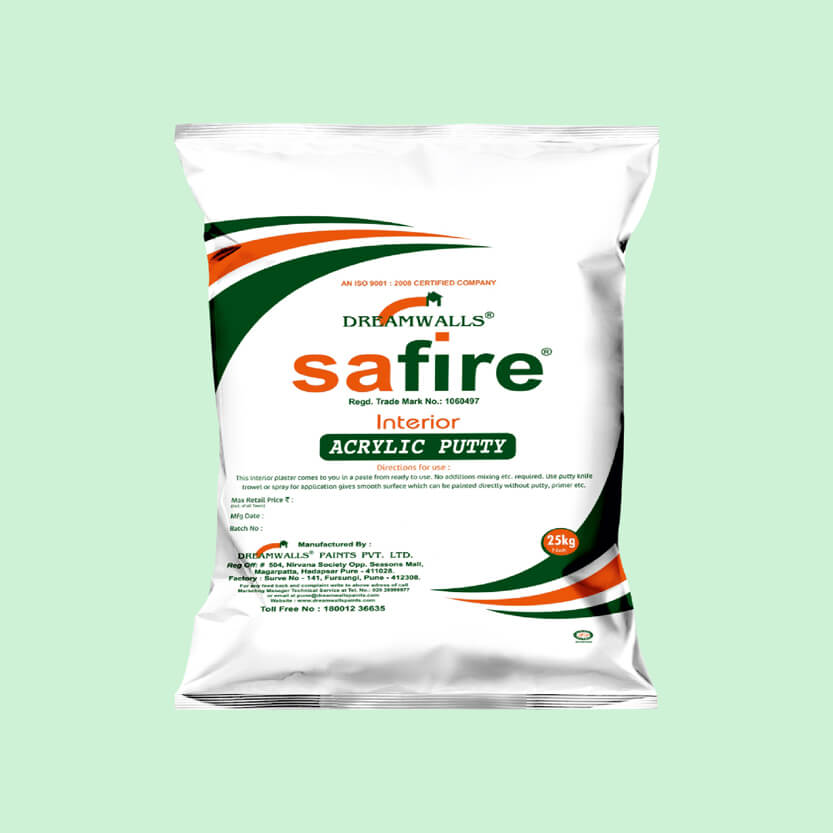
Safire Acrylic putty bag stands out as a water-based putty, representing one of the finest products in its category on today. Specifically designed for smoothing out cracks and dents on walls or interior surfaces, this putty establishes a robust and enduring base, elevating the overall performance of finish paints in terms of aesthetics.
The putty incorporates speciality that guarantee a secure adhesion to the wall surface,
ultimately extending the lifespan of the paint. Crafted with precision using advanced equipment and technology, it ensures a consistent smoothness throughout its application.
Safire Acrylic putty Additionally, promotes improved finish compared to traditional putty, thereby enhancing paint performance. With a quick-drying formulation, it facilitates swift project completion.
Coverage
Coat: 40 To 55 sq.ft/Ltr/Coat Diluted, 2 Coat: 25 To 35 sq.ft/Ltr/Coat Undiluted
(Depending upon Surface and shades)
*The actual coverage achieved may differ from the quoted coverage due to variables like the application method, application conditions, and the roughness and porosity of the surface.
Gives a smooth and durable finish with Safire Acrylic putty Here’s a step-by-step guide on how to prepare the wall surface for applying acrylic putty:
Safire Acrylic putty for walls has several features and benefits that make it a popular choice for various applications. Here are some key features and benefits: Quick Drying: Safire Acrylic putty typically dries faster compared to other types of putty or filler, making it a time-efficient option for wall repairs and renovations. Easy to Apply: The smooth consistency of Safire Acrylic putty makes it easy to apply with a putty knife or trowel. Its workability allows for precise application on different surfaces.
Adhesion: Safire Acrylic putty exhibits good adhesion to a variety of surfaces, including plaster, drywall, wood, concrete, and more. This ensures a strong bond between the putty and the substrate. Versatility: Safire Acrylic putty is versatile and can be used for various purposes, such as filling cracks, holes, and imperfections in walls, ceilings, and other surfaces. Paintable: Safire Acrylic putty is compatible with Dreamwalls Paints, allowing for easy painting once the putty has dried. This ensures a seamless integration of the repaired area with the rest of the surface. Minimal Shrinkage: Safire Acrylic putty tends to have minimal shrinkage during the drying process, reducing the likelihood of cracks appearing after application. Water-Based: Safire Acrylic putty is water-based, making it easy to clean up with water. This feature is environmentally friendly and simplifies the cleaning process for tools.
Smooth Finish: Safire Acrylic putty can be applied smoothly, allowing for a professional-looking finish. This is particularly beneficial for achieving a flawless surface in preparation for painting. Durability: Once dried, Safire Acrylic putty forms a durable and hard surface. It helps reinforce and strengthen the repaired areas on walls, providing long-lasting results. Weather Resistance: Safire Acrylic putty is often resistant to weathering and can withstand exposure to various environmental conditions, making it suitable for both interior and exterior applications. Cost-Effective: Safire Acrylic putty is affordable, providing a cost-effective solution for minor repairs and surface preparation compared to more expensive alternatives. Crack Resistance: The flexibility of Safire Acrylic putty helps it resist cracking, ensuring that the repaired areas remain intact even if there are slight movements or expansions in the underlying substrate.
Easy Sanding: After drying, Safire Acrylic putty can be easily sanded to achieve a smooth and even surface. This facilitates additional refinements before painting.
Keep the container tightly closed and keep out of reach of children and away from combustible material, food, drink, and animal feeding stuffs. Wear suitable gloves. Avoid contact with skin or eyes, After contact with skin wash immediately with soap and water or a proprietary skin cleanser. Do not use solvent thinners or white spirits. May cause sensitization by skin contact. Use only in well-ventilated areas and store in cool and dry places. Lead content does not exceed more than 90 ppm.
To maintain the paint’s optimal performance, it is essential to follow these guidelines:
Regularly clean and wash off any algae or fungal growth that may appear every six months.Avoid applying the paint when the ambient temperature is below 10°C or if it is expected to drop to this level within few hours of application. Refrain from excessive thinning or overextending the brush during application. Use machine colorant for tinting, ensuring proper stirring and straining before use.
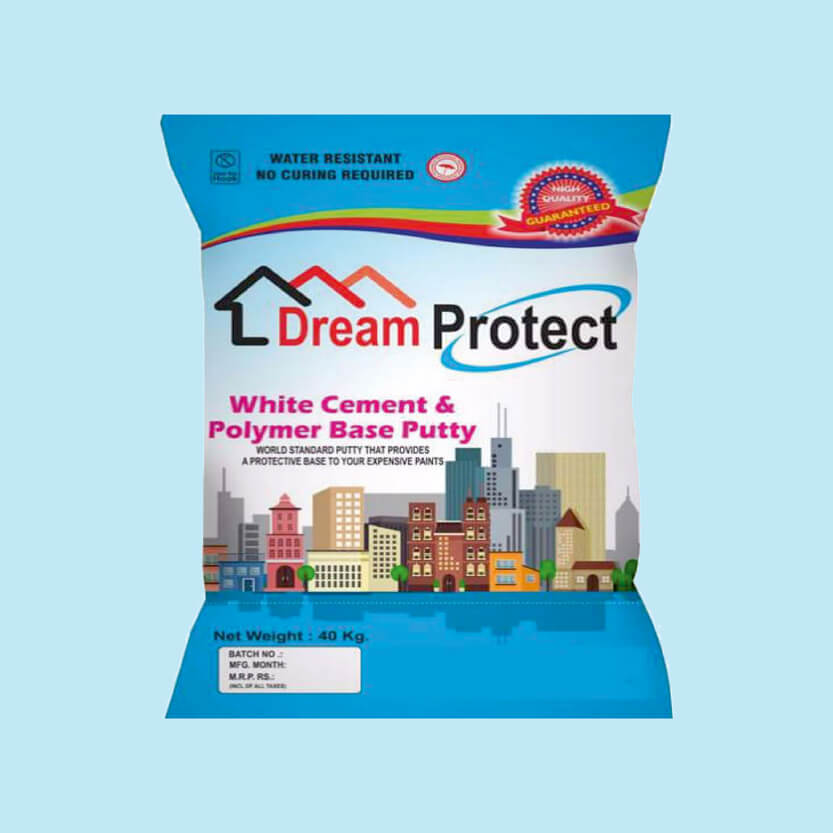
Dream Protect white cement and polymer base putty is a world standard putty that provides a protective base for your expensive paint stands out as a water-based putty, representing one of the finest products in its category on today. Specifically designed for smoothing out cracks and dents on walls and surfaces, this putty establishes a robust and enduring base, elevating the overall performance of finish paints in terms of aesthetics.
Applications: Dream Protect white cement and polymer base putty is commonly used in interior and exterior applications.
It is suitable for plastered surfaces, concrete, and other construction materials. The polymer additives improve the putty’s bonding strength and resistance to water, making it more durable than traditional putty. The putty incorporates speciality that guarantee a secure adhesion to the wall surface, ultimately extending the lifespan of the paint. Crafted with precision using advanced equipment and technology, it ensures a consistent smoothness throughout its application.
Coverage
Coat: 40 To 55 sq.ft/Ltr/Coat Diluted,
2 Coat: 25 To 35
sq.ft/Ltr/Coat Undiluted
(Depending upon Surface and shades)
*The actual coverage achieved may differ from the quoted coverage due to variables like the application method, application conditions, and the roughness and porosity of the surface.
1. Clean the Surface: Remove any dust, dirt, or loose particles from the wall surface using a clean, dry cloth or a soft brush. This ensures that the putty adheres properly to the wall.
2. Repair Damaged Areas If there are any cracks, holes, or other damages on the wall, repair them applying Dream Protect white cement and polymer base putty. Use a suitable filler or patching compound to fill in the gaps and allow it to dry completely.
3. Sand the Surface: Sand the entire wall surface to create a smooth and even base for the Dream Protect putty Use medium-grit sandpaper to remove any imperfections, bumps, or uneven areas. This step helps the putty adhere better and provides a more polished finish.
4. Remove Dust: After sanding, wipe down the wall with a damp cloth to remove any dust created during the sanding process. Ensure that the surface is clean and free of any debris before proceeding.
5. Prime the Surface: Applying a primer helps to create a uniform surface, improves adhesion, and enhances the durability of the acrylic putty. Use a good-quality primer suitable for the wall surface material. Allow the primer to dry completely for 6 to 8 hours.
6. Mix the Dream Protect putty: Follow the instructions Dream Protect putty require mixing with water. Use a clean container and mix the Dream Protect putty until you achieve a smooth, lump-free consistency.
7. Apply Dream Protect putty: Use a putty knife or a trowel to apply the Dream Protect putty evenly on the wall surface. Fill in any remaining imperfections, holes, or cracks. Work in small sections to ensure proper coverage.
8. Smooth and Feather Edges: After applying the Dream Protect putty, use the putty knife to smooth and feather the edges. This helps to blend the putty seamlessly with the surrounding wall surface, creating a professional finish.
9. Allow to Dry: Allow the Dream Protect putty to dry completely. Avoid any contact with the surface during this period. Sand once the putty is dry, sand the surface lightly to achieve a perfectly smooth finish. Use fine-grit
sandpaper for this step.
11. Clean the Surface: Wipe down the wall surface remove any dust created during the sanding process. Following these steps should help you prepare the wall surface effectively for the application of Dream Protect putty.
FEATURES: Dream Protect putty for walls has several features and benefits that make it a popular choice for various applications. Here are some key
features and benefits: Quick Drying: Dream Protect putty typically dries faster compared to other types of putty or filler, making it a time-efficient
option for wall repairs and renovations. Easy to Apply: The smooth consistency of Dream Protect putty makes it easy to apply with a putty knife or
trowel. Its workability allows for precise application on different surfaces.
Adhesion: Dream Protect putty exhibits good adhesion to a variety of surfaces, including plaster, drywall, wood, concrete, and more. This ensures a
strong bond between the putty and the substrate. Versatility: Dream Protect putty is versatile and can be used for various purposes, such as filling
cracks, holes, and imperfections in walls, ceilings, and other surfaces. Paintable: Dream Protect putty is compatible with Dreamwalls Paints,
allowing for easy painting once the putty has dried. This ensures a seamless integration of the repaired area with the rest of the surface. Minimal
Shrinkage: Dream Protect putty tends to have minimal shrinkage during the drying process, reducing the likelihood of cracks appearing after
application. Water-Based: Dream Protect putty is water-based, making it easy to clean up with water. This feature is environmentally friendly and
simplifies the cleaning process for tools.
Smooth Finish: Safire Acrylic putty can be applied smoothly, allowing for a professional-looking finish. This is particularly beneficial for achieving a flawless surface in preparation for painting. Durability: Once dried, Safire Acrylic putty forms a durable and hard surface. It helps reinforce and strengthen the repaired areas on walls, providing long-lasting results. Weather Resistance: Safire Acrylic putty is often resistant to weathering and can withstand exposure to various environmental conditions, making it suitable for both interior and exterior applications. Cost-Effective: Safire Acrylic putty is affordable, providing a cost-effective solution for minor repairs and surface preparation compared to more expensive alternatives. Crack Resistance: The flexibility of Safire Acrylic putty helps it resist cracking, ensuring that the repaired areas remain intact even if there are slight movements or expansions in the underlying substrate.
Easy Sanding: After drying, Safire Acrylic putty can be easily sanded to achieve a smooth and even surface. This facilitates additional refinements before painting.
Keep the container tightly closed and keep out of reach of children and away from combustible material, food, drink, and animal feeding stuffs. Wear suitable gloves. Avoid contact with skin or eyes, After contact with skin wash immediately with soap and water or a proprietary skin cleanser. Do not use solvent thinners or white spirits. May cause sensitization by skin contact. Use only in well-ventilated areas and store in cool and dry places. Lead content does not exceed more than 90 ppm.
To maintain the paint’s optimal performance, it is essential to follow these guidelines:
Regularly clean and wash off any algae or fungal growth that may appear every six months.Avoid applying the paint when the ambient temperature is below 10°C or if it is expected to drop to this level within few hours of application. Refrain from excessive thinning or overextending the brush during application. Use machine colorant for tinting, ensuring proper stirring and straining before use.